Building a "Leverless" 3D-Printable Arcade Fight Controller
Posted 2024-08-18
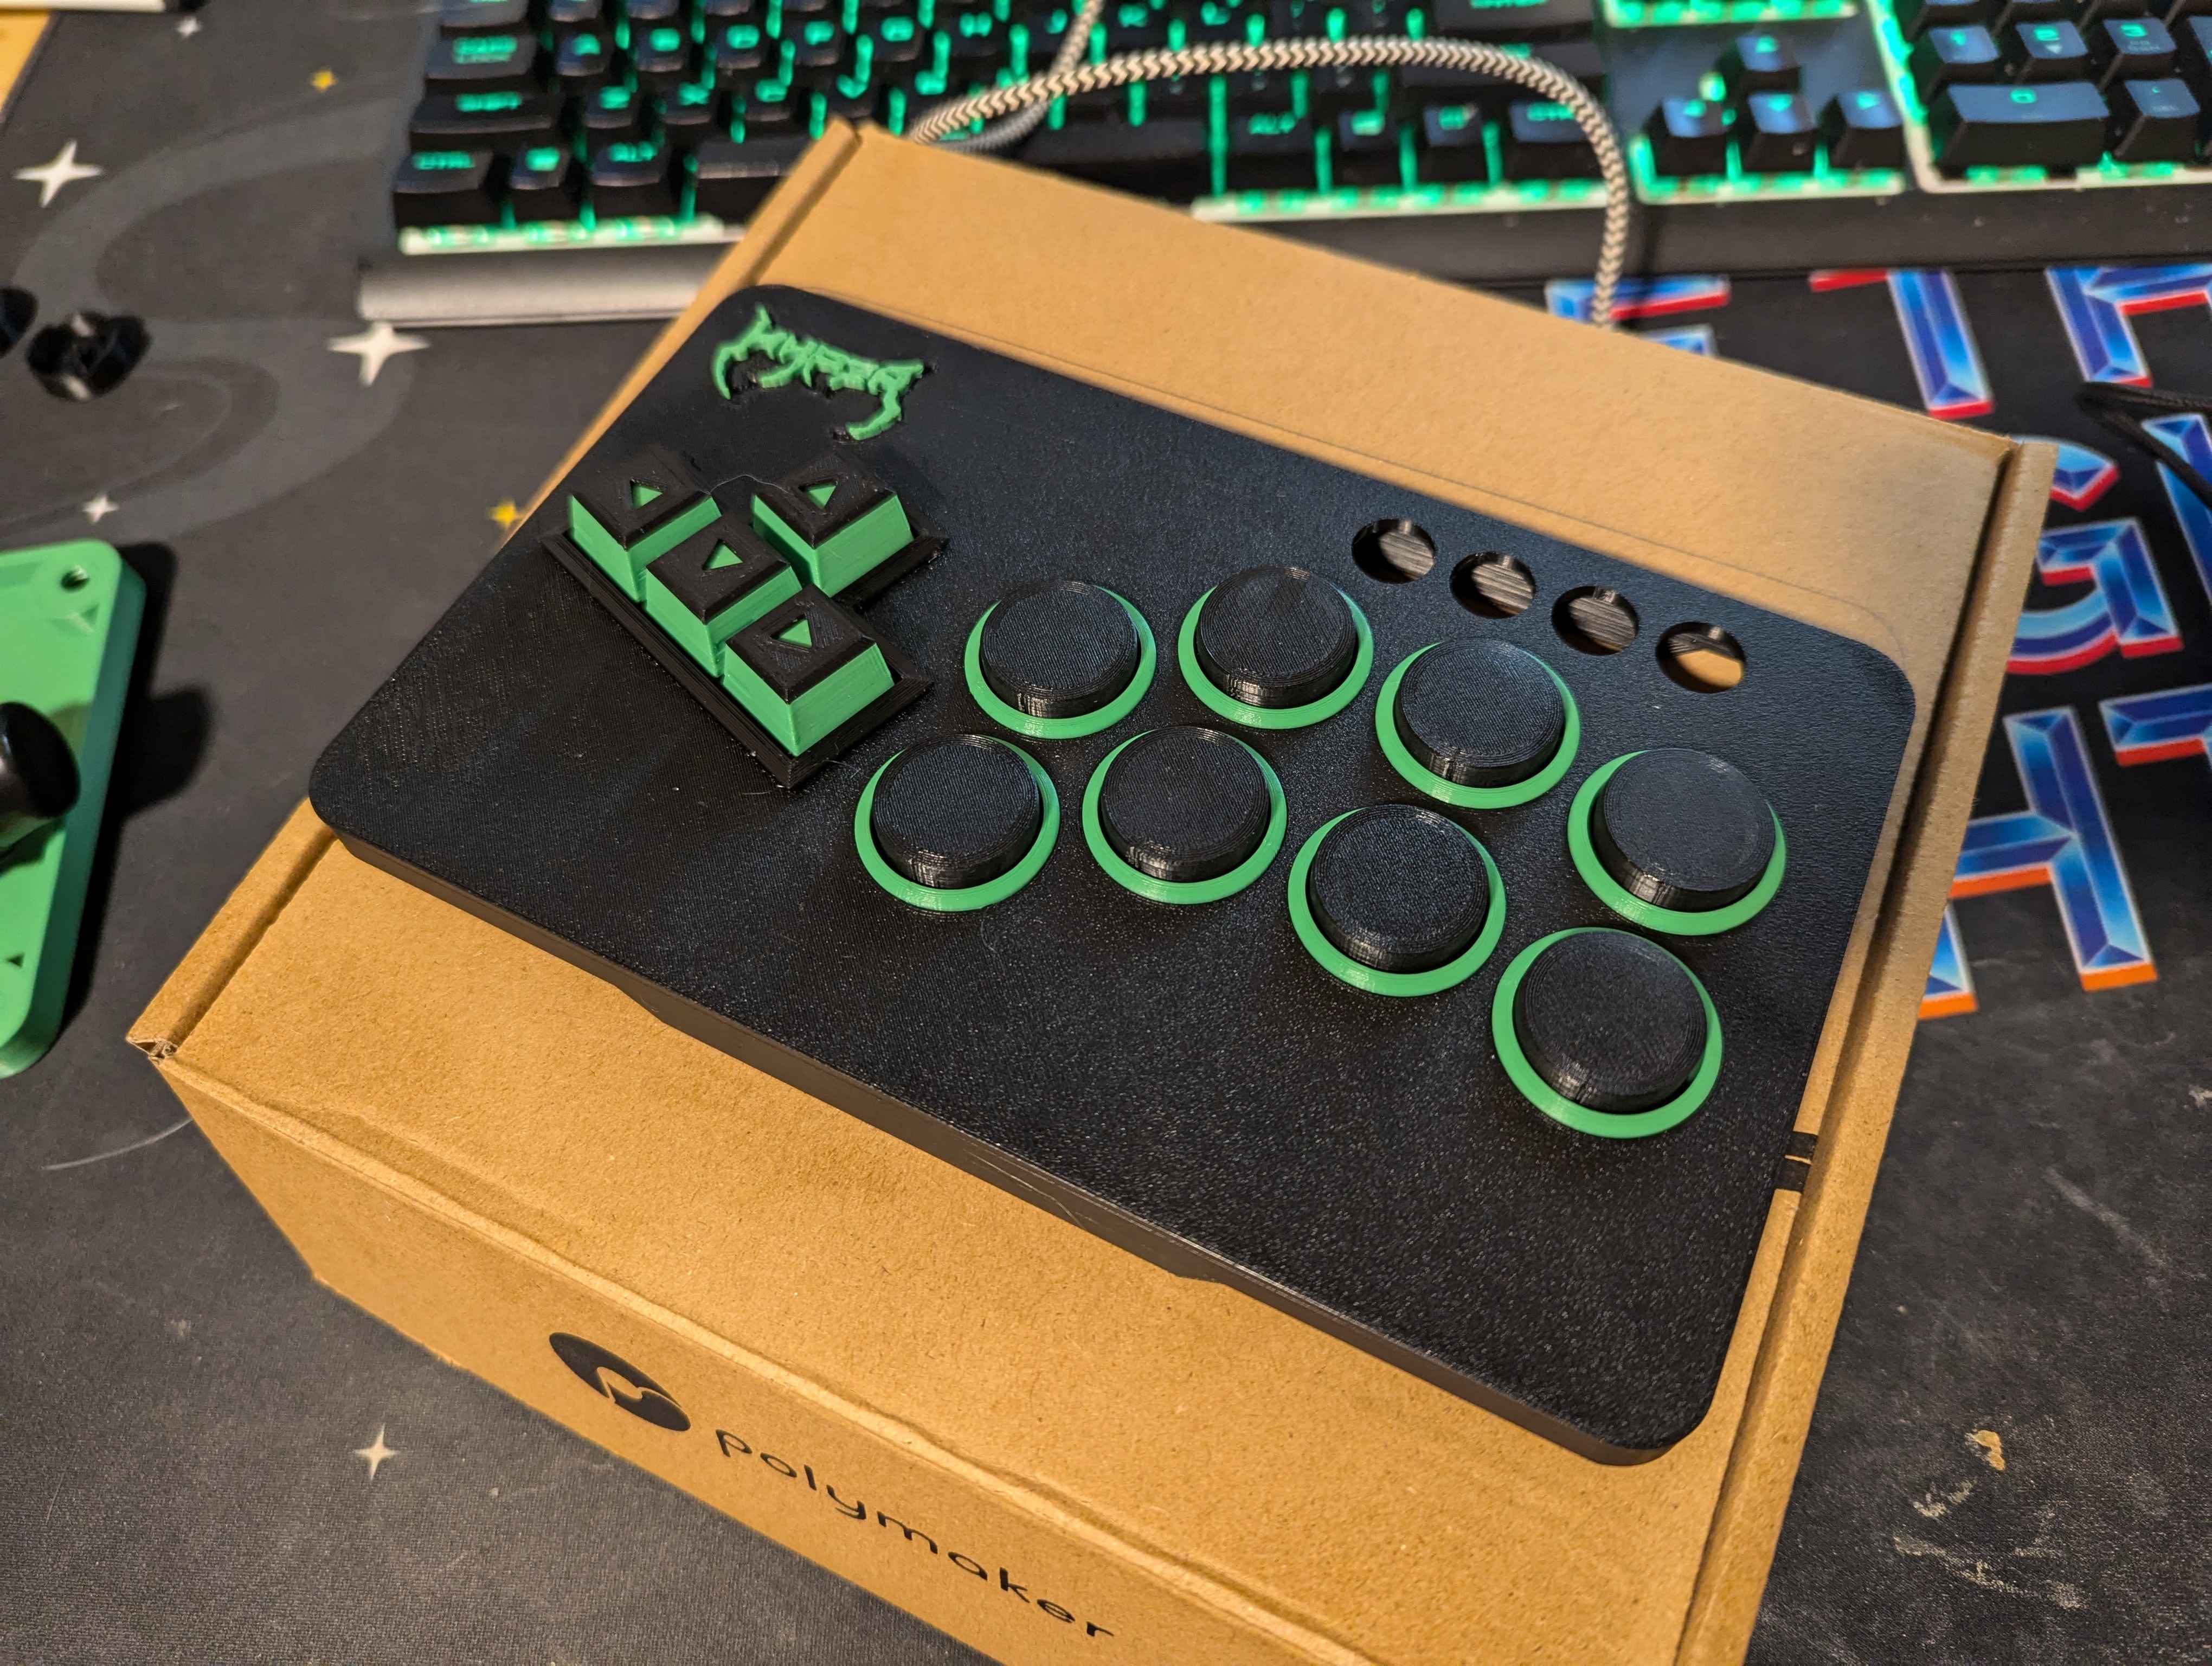
Over the last few months, I’ve been working on a leverless, 3D-printable arcade fight controller as a side project.
It all started with a conversation at work with a friend who’s a big fighting-game enthusiast. He was showing off his new collection of fight controllers, and since our workplace recently got an arcade machine for the lunchroom, we’d been having a blast playing Killer Instinct and Street Fighter during breaks.
We got into talking about the different components and regional styles of various controllers, and that’s when he introduced me to the concept of leverless controllers. I was instantly intrigued since I usually find using a fight stick frustrating, being more of a PC gamer than a console gamer. My friend mentioned that people often build their own, using a Raspberry Pi and some community-developed firmware. That’s when I started flexing my Google-fu.
After looking into the parts I’d need and their costs, I decided to build my own leverless fight pad controller. But instead of buying everything outright, I figured I’d put my Creality Ender-3 3D printer to work and design the parts myself.
In recent months, I’ve been iterating on the chassis, buttons, housings, and more, refining each design. I’ve documented the process on Instagram, my Discord server, and Threads, but figured it was time to turn this into a blog post—so here we are.
Why Leverless?
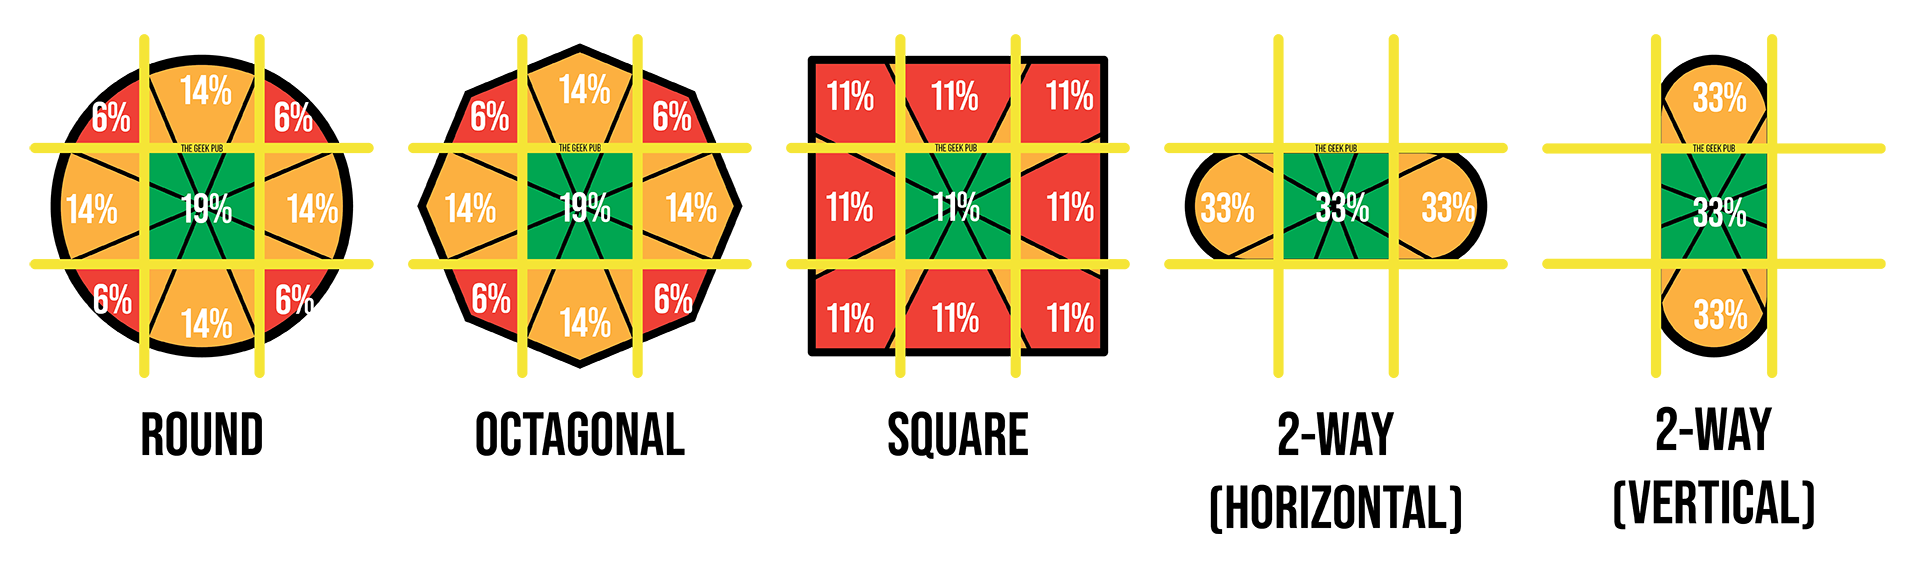
The above image shows the different types of gate used in traditional lever or joystick arcade fighting controller systems. My friend educated me on the different types and which regions tend to favour which design, which helped me understand why every controller I've ever played on has felt different.
Leverless removes this problem by using a WASD directional layout, similar to PC games that use mouse and keyboard.
I've been playing Killer Instinct on PC using a Keyboard for a couple of years now, as I find it's better than using my PC XBOX controller. I'm able to land combos more accurately than I am with fight stick. and if it works for me, then what's the problem?
At least, that's how I look at it.
Parts List
Most of the parts listed below were sourced from Amazon, with a few coming from local electronics stores like JayCar. I won’t go into detail about how much I’ve spent on this project, but let’s just say I could’ve bought a Haute controller with the money, not counting the filament for the 3D printer.
- Raspberry Pi Pico
- USB-C Breakout Board
- Gateron Milky Yellow Pro Linear Keyboard Switches
- GP2040CE Firmware
- Various colors of Polymaker Pro PLA+ Filament
- A cheap soldering iron from Bunnings
- Tube of solder
- Female socket wires
- Momentary button switches
Objectives
1. Compact Form Factor
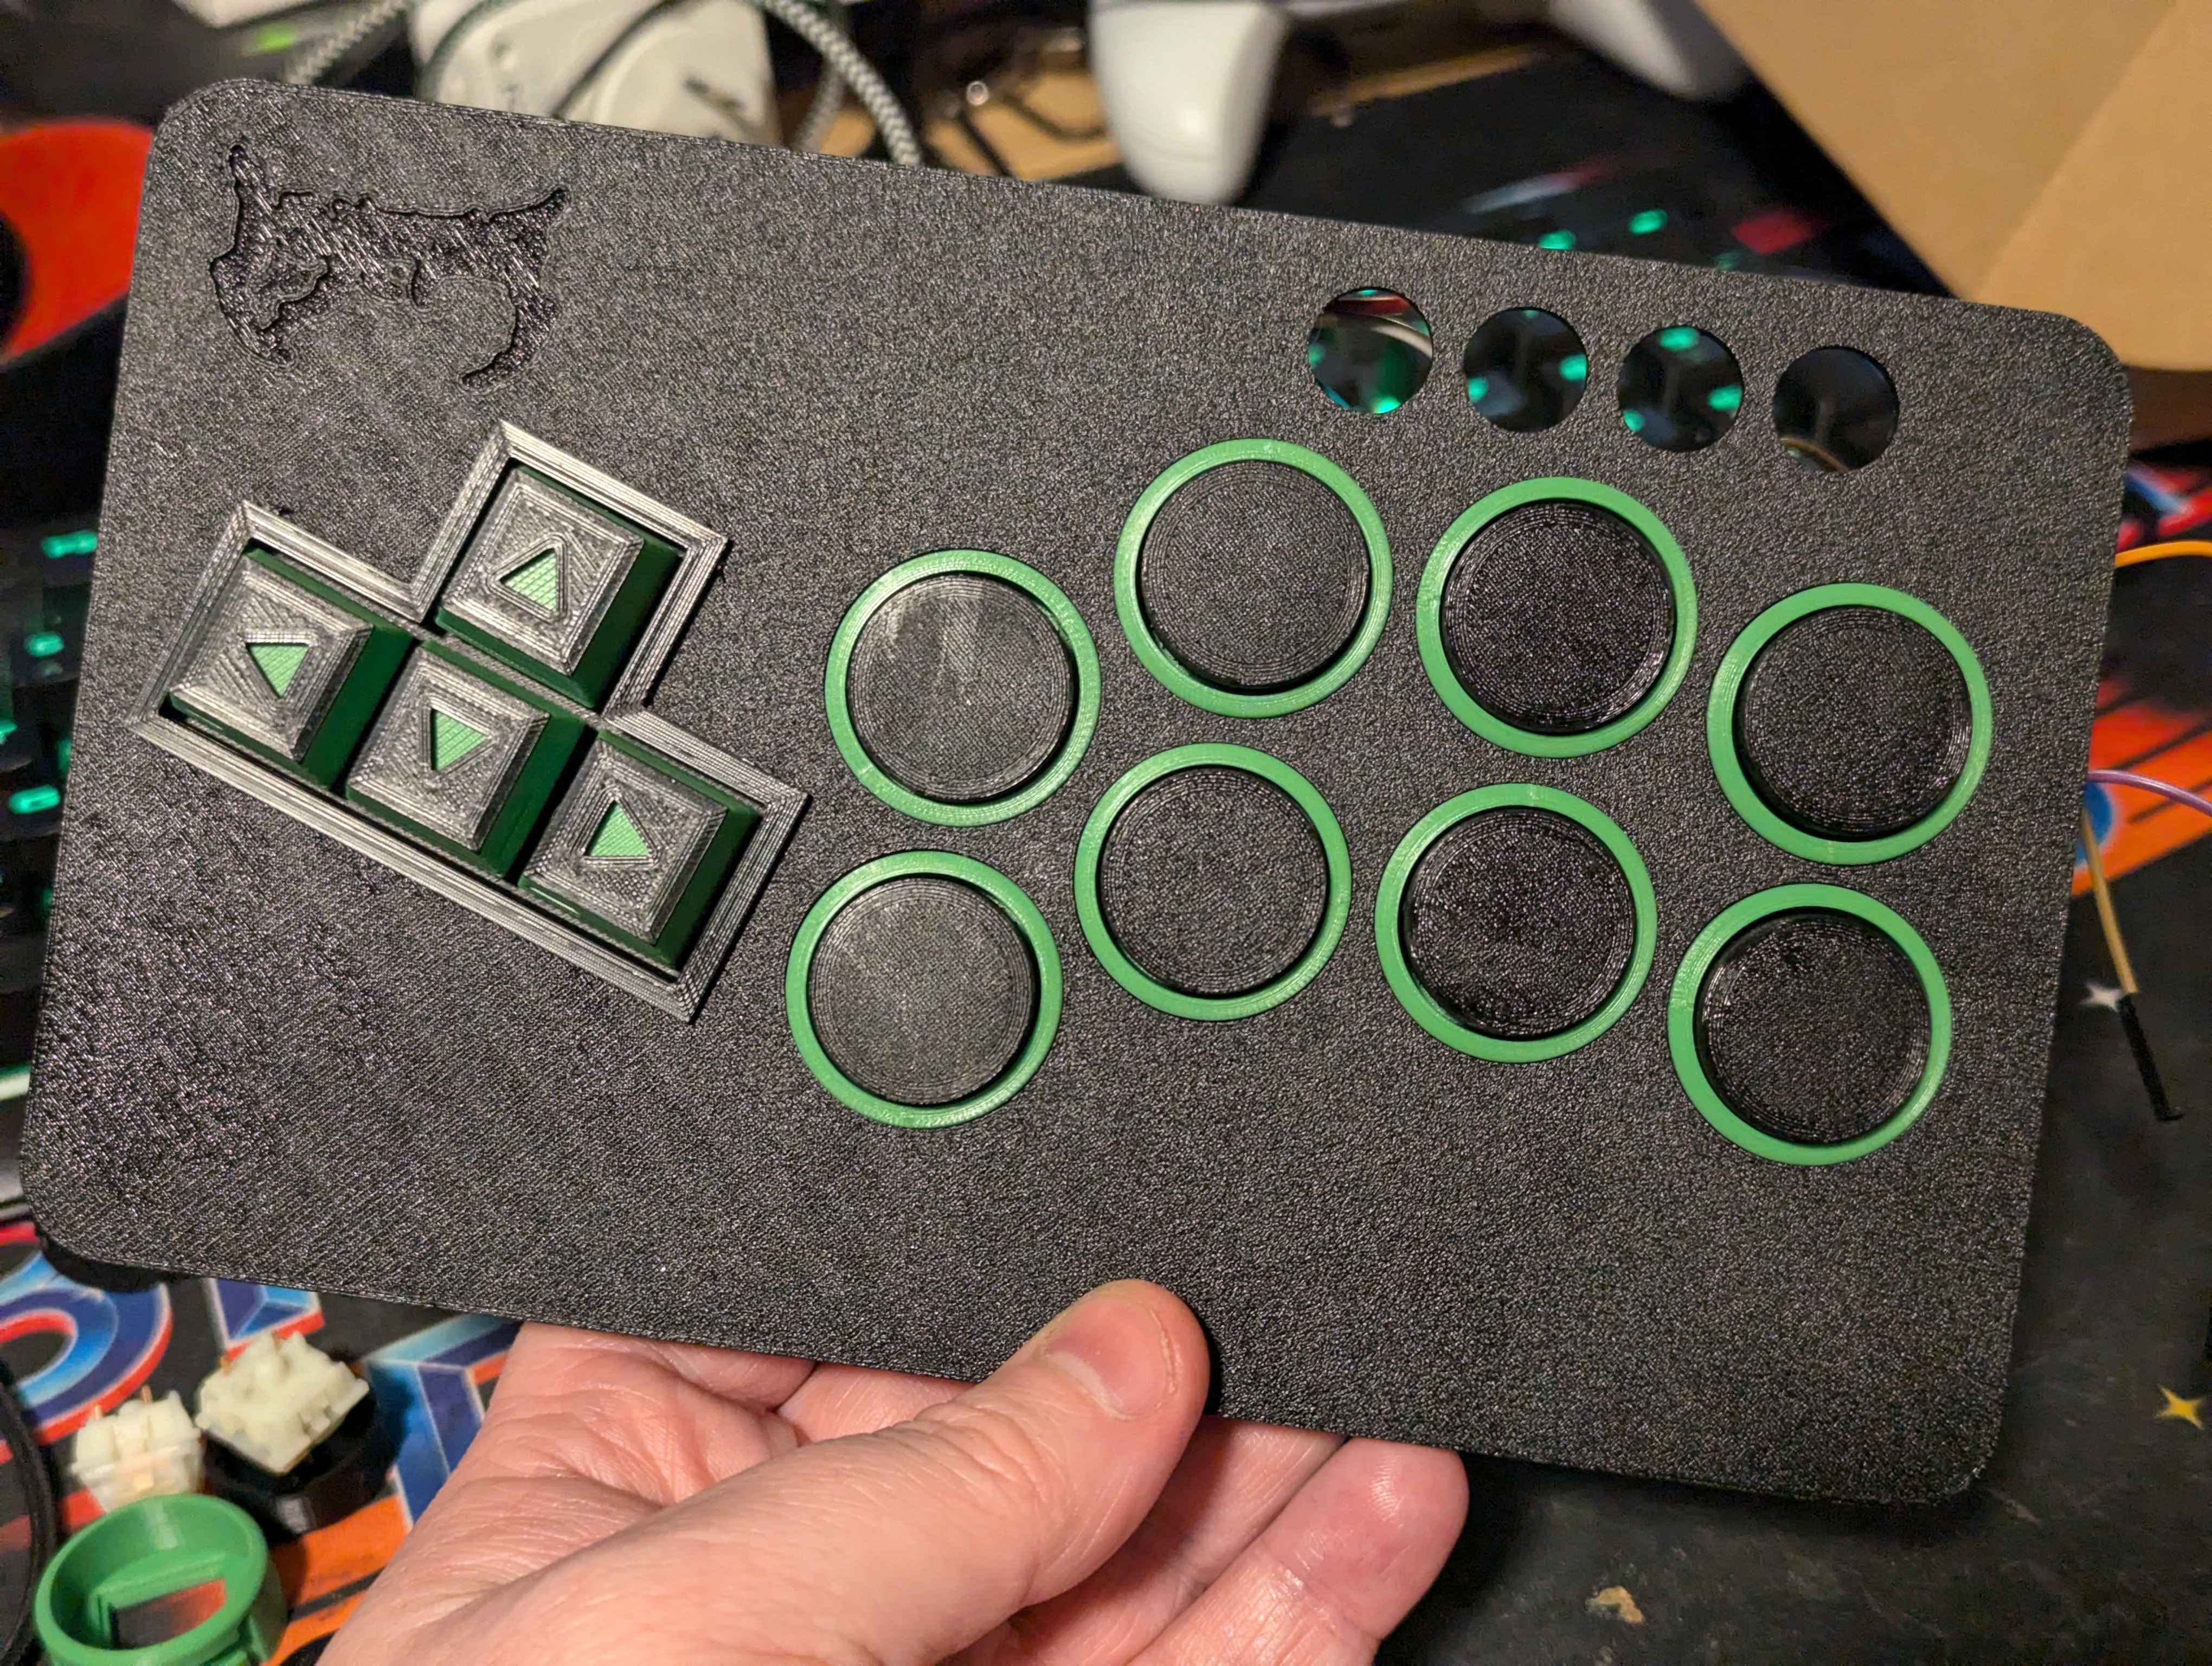
The primary objective was to build a controller where all the non-electronic parts could be entirely 3D-printed on a 235mm by 235mm print bed. My Creality Ender-3 has a decently sized bed, but I can’t stand the idea of printing parts in pieces just to glue them together later (it feels tacky to me for some reason).
In line with the compact form factor, I also wanted the 3D-printed parts to snap together with little to no adhesive required. This led to a lot of trial and error as I refined the shapes, mechanisms, and dimensions.
This is where most of the development time has gone—designing, printing, adjusting, reprinting, and so on. Luckily, I can just set the print job and come back to it later.
Overall, this process has taught me a lot about designing measurement-exact objects in 3D and how those designs translate into physical parts.
2. Minimal Travel Distance
This ties in to the first objective, but it is also an objective of it's own.
As a someone who enjoys playing games that require quick thinking and reflexes, I wanted to design something that enabled the user to react quickly whilst still being aesthetically pleasing, and so I set out to create something with minimal travel distance.
Each button has been designed down to the millimeter, to reduce as much distance between each button as possible whilst not sacrificing the structural integrity of the component. Too thick and you risk having too much travel distance, and too thin you risk having your part snap or break on you.
In this objective, I toyed with various distances, infill settings, and printing temperatures in my designs.
3. No Required Supports
Another peeve of mine is needing to use supports to print something, because of the tedious process of removing the supports used in the print, the filament wastage, and the post-processing required to remove the imperfections and burs afterwards.
4. Modern Connectors
This was more of a personal objective and not really critical to the project, but I wanted it to have a modern connection type when being used in play.
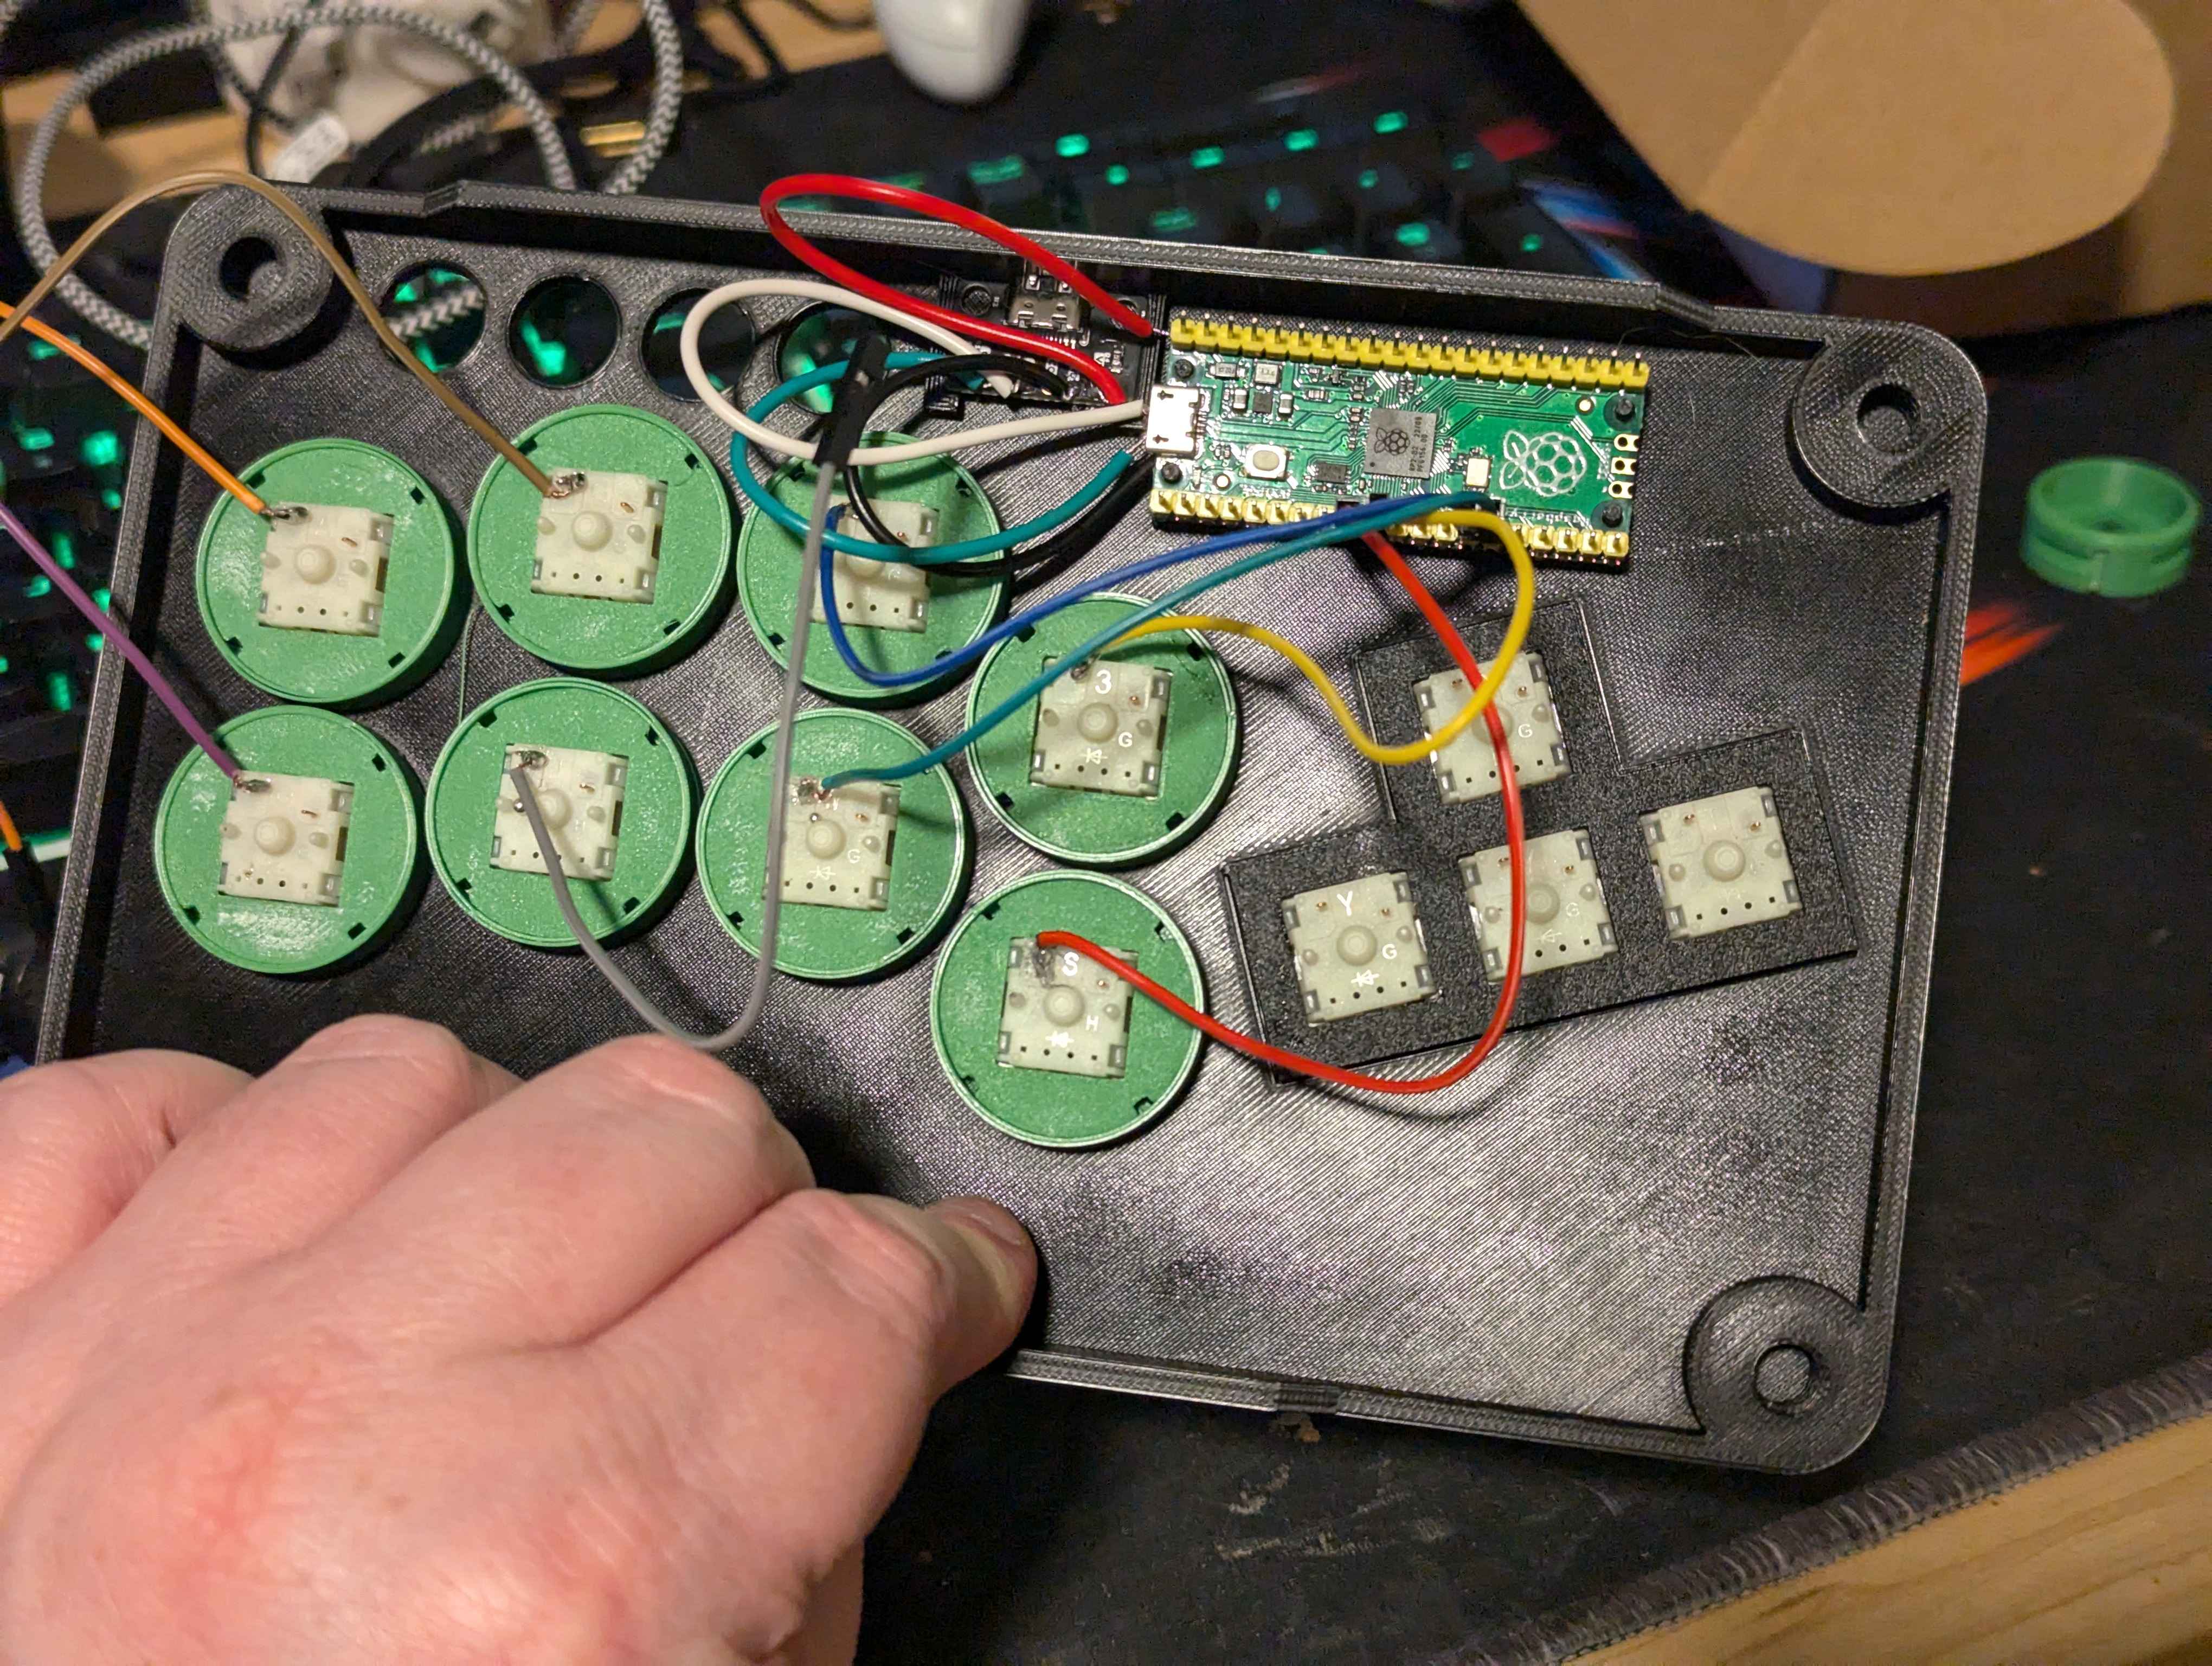
The genuine Raspberry Pi Pico comes with a Micro-USB connection socket, which isn't terrible, but I'm surprised that it's been a few years in production and still not using a USB-C connector. Even the newly announced Raspberry Pi Pico 2 is still rocking a Micro-USB connector, which is baffling.
To fix this, I ordered a USB-C breakout board and soldered it to the existing Micro-USB points. Both sockets still work flawlessly, but it means you don't have to dig through your old cable stash to find something that works. The other added benefit is I can put the Raspberry Pi Pico somewhere else in the housing, and not fixing it close to the edge of the chassis.
Feedback and Usage
Throughout the initial design phase, I had my wife and friend at work test the buttons and housings to see how they felt. Overall, the feedback was really positive which inspired me to keep going with the project.
At various stages and test prints, I'd go back to them and ask them to try it out, and the result was consistently positive.
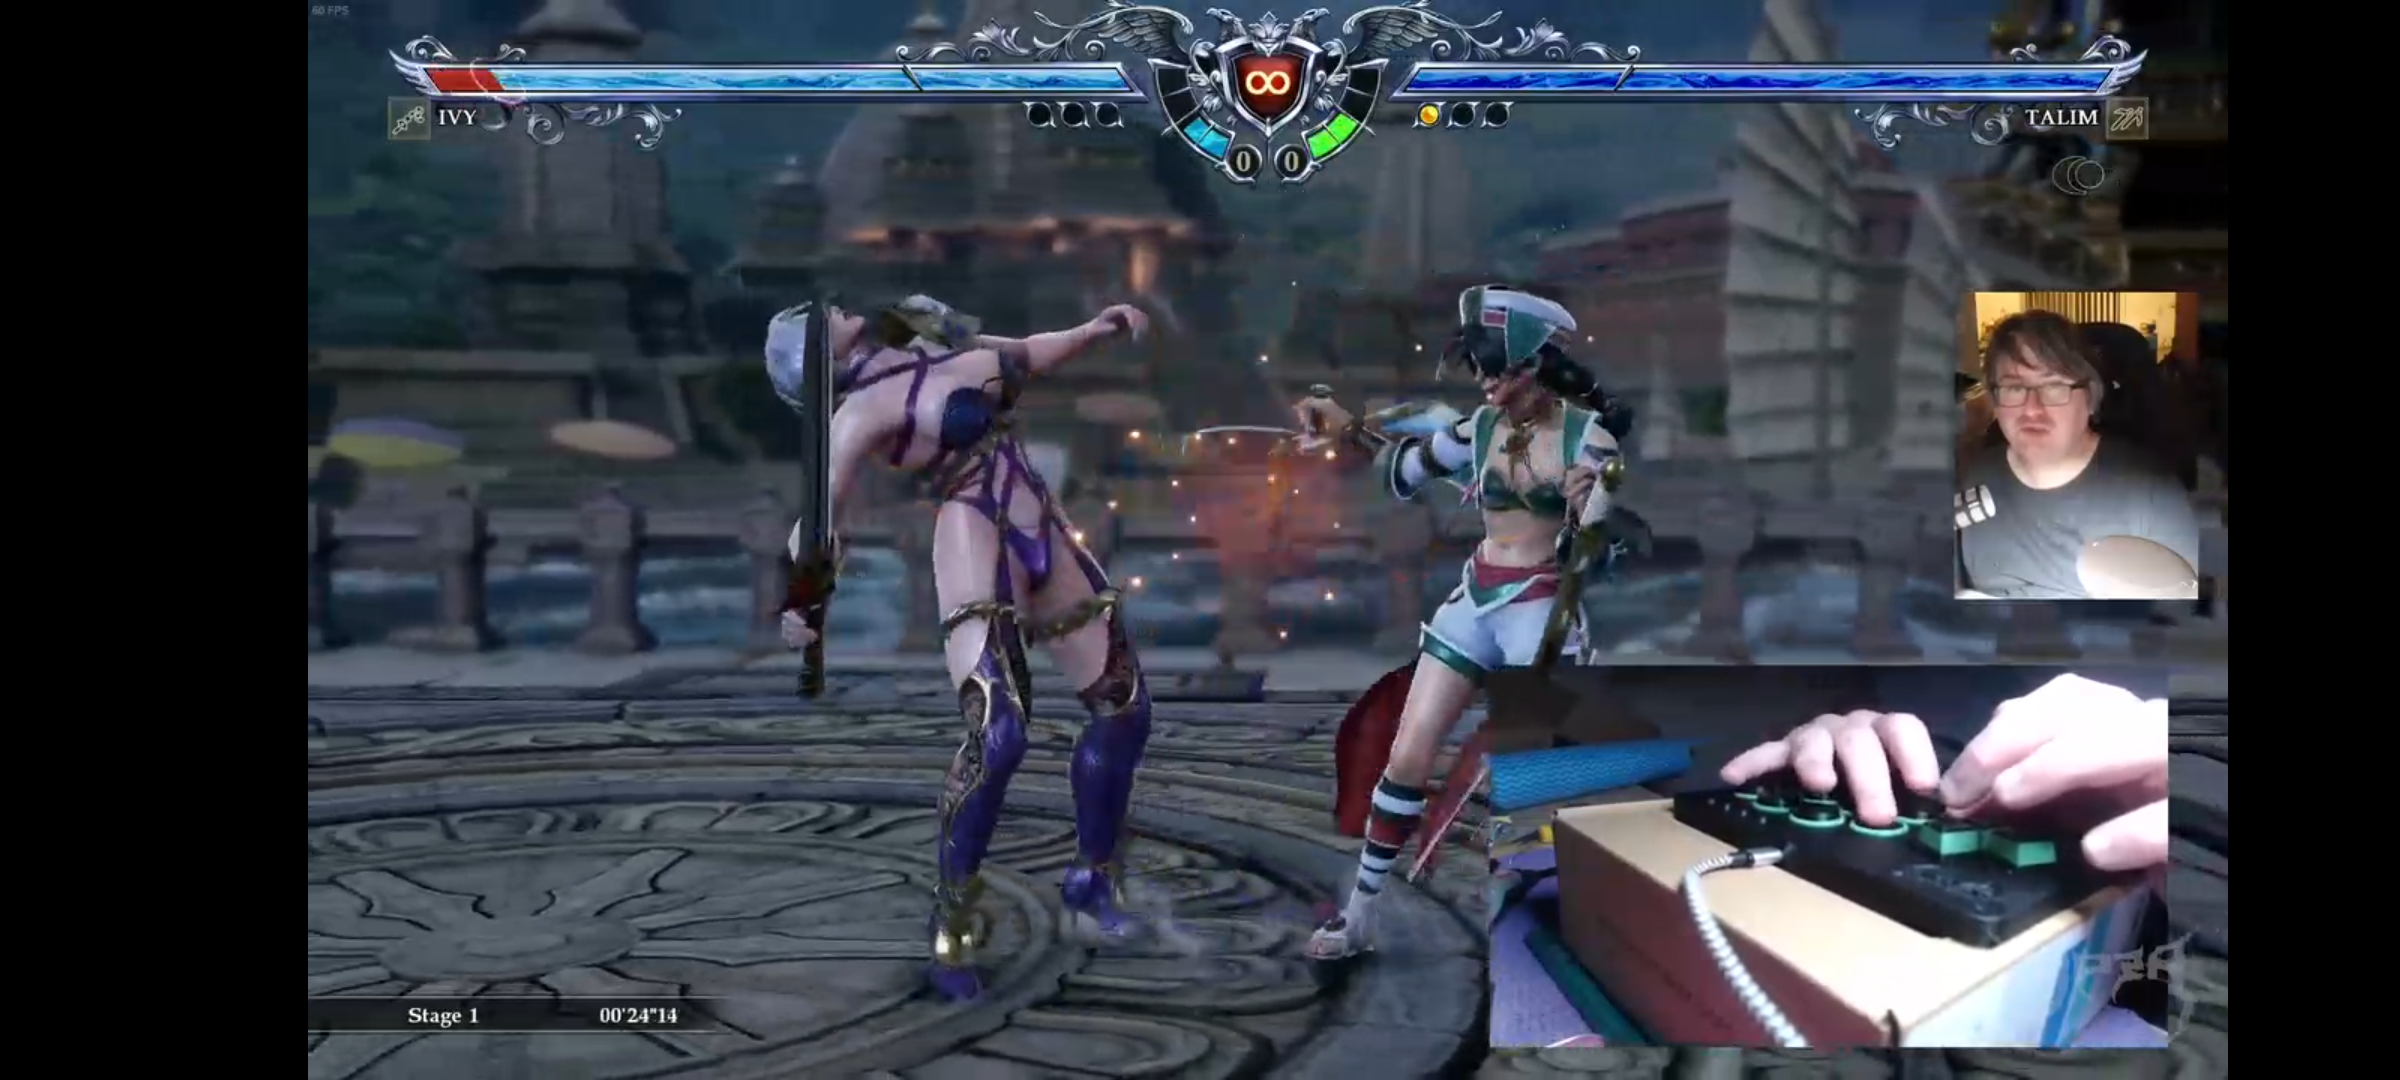
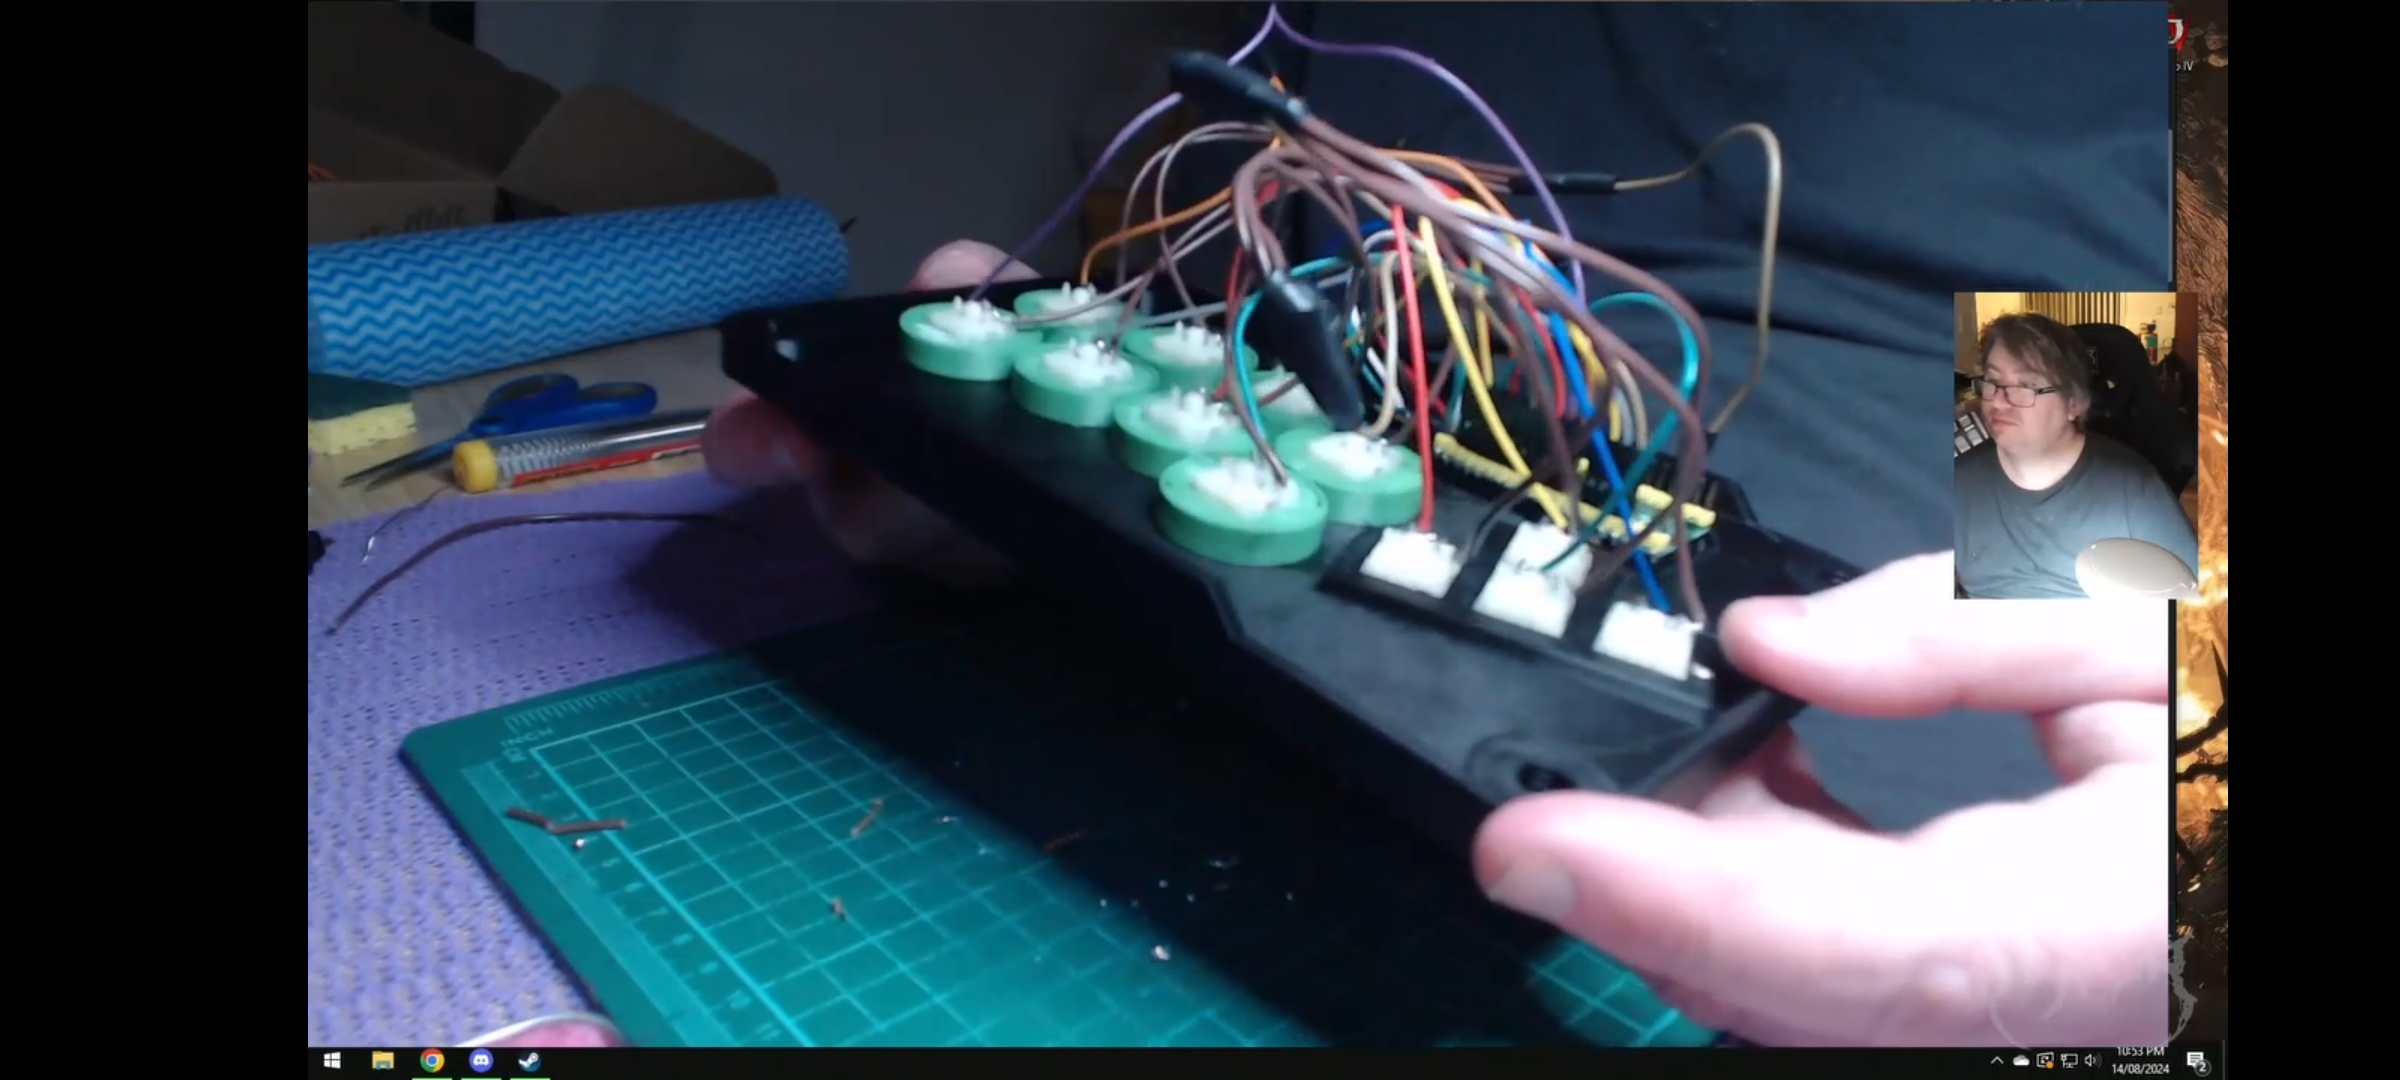
Now that the prototype is all soldered up and working, I had my wife try it out in a couple of games of Soul Calibur VI. I'm pretty sure that once I've finished the design and any tweaks I've made, I'll be having a few folks asking me to make them one.
Future Plans
During the development of it, I've had a few folks ask me what my plans for the finished product will be.
Will you make and sell them?, Will you sell the designs?, Will you mass produce them?
Honestly, I'm shit at the whole business thing so I have no idea. I started the project to make something cool for myself and learn some new skills at the same time. I just do things, man.
Anyway, that's it for now.